Treatment of Benjamin Franklin: Removal of the lining
This blog post is part of a series of treatment posts initiated on March 1, 2016. See below for the treatment introduction.
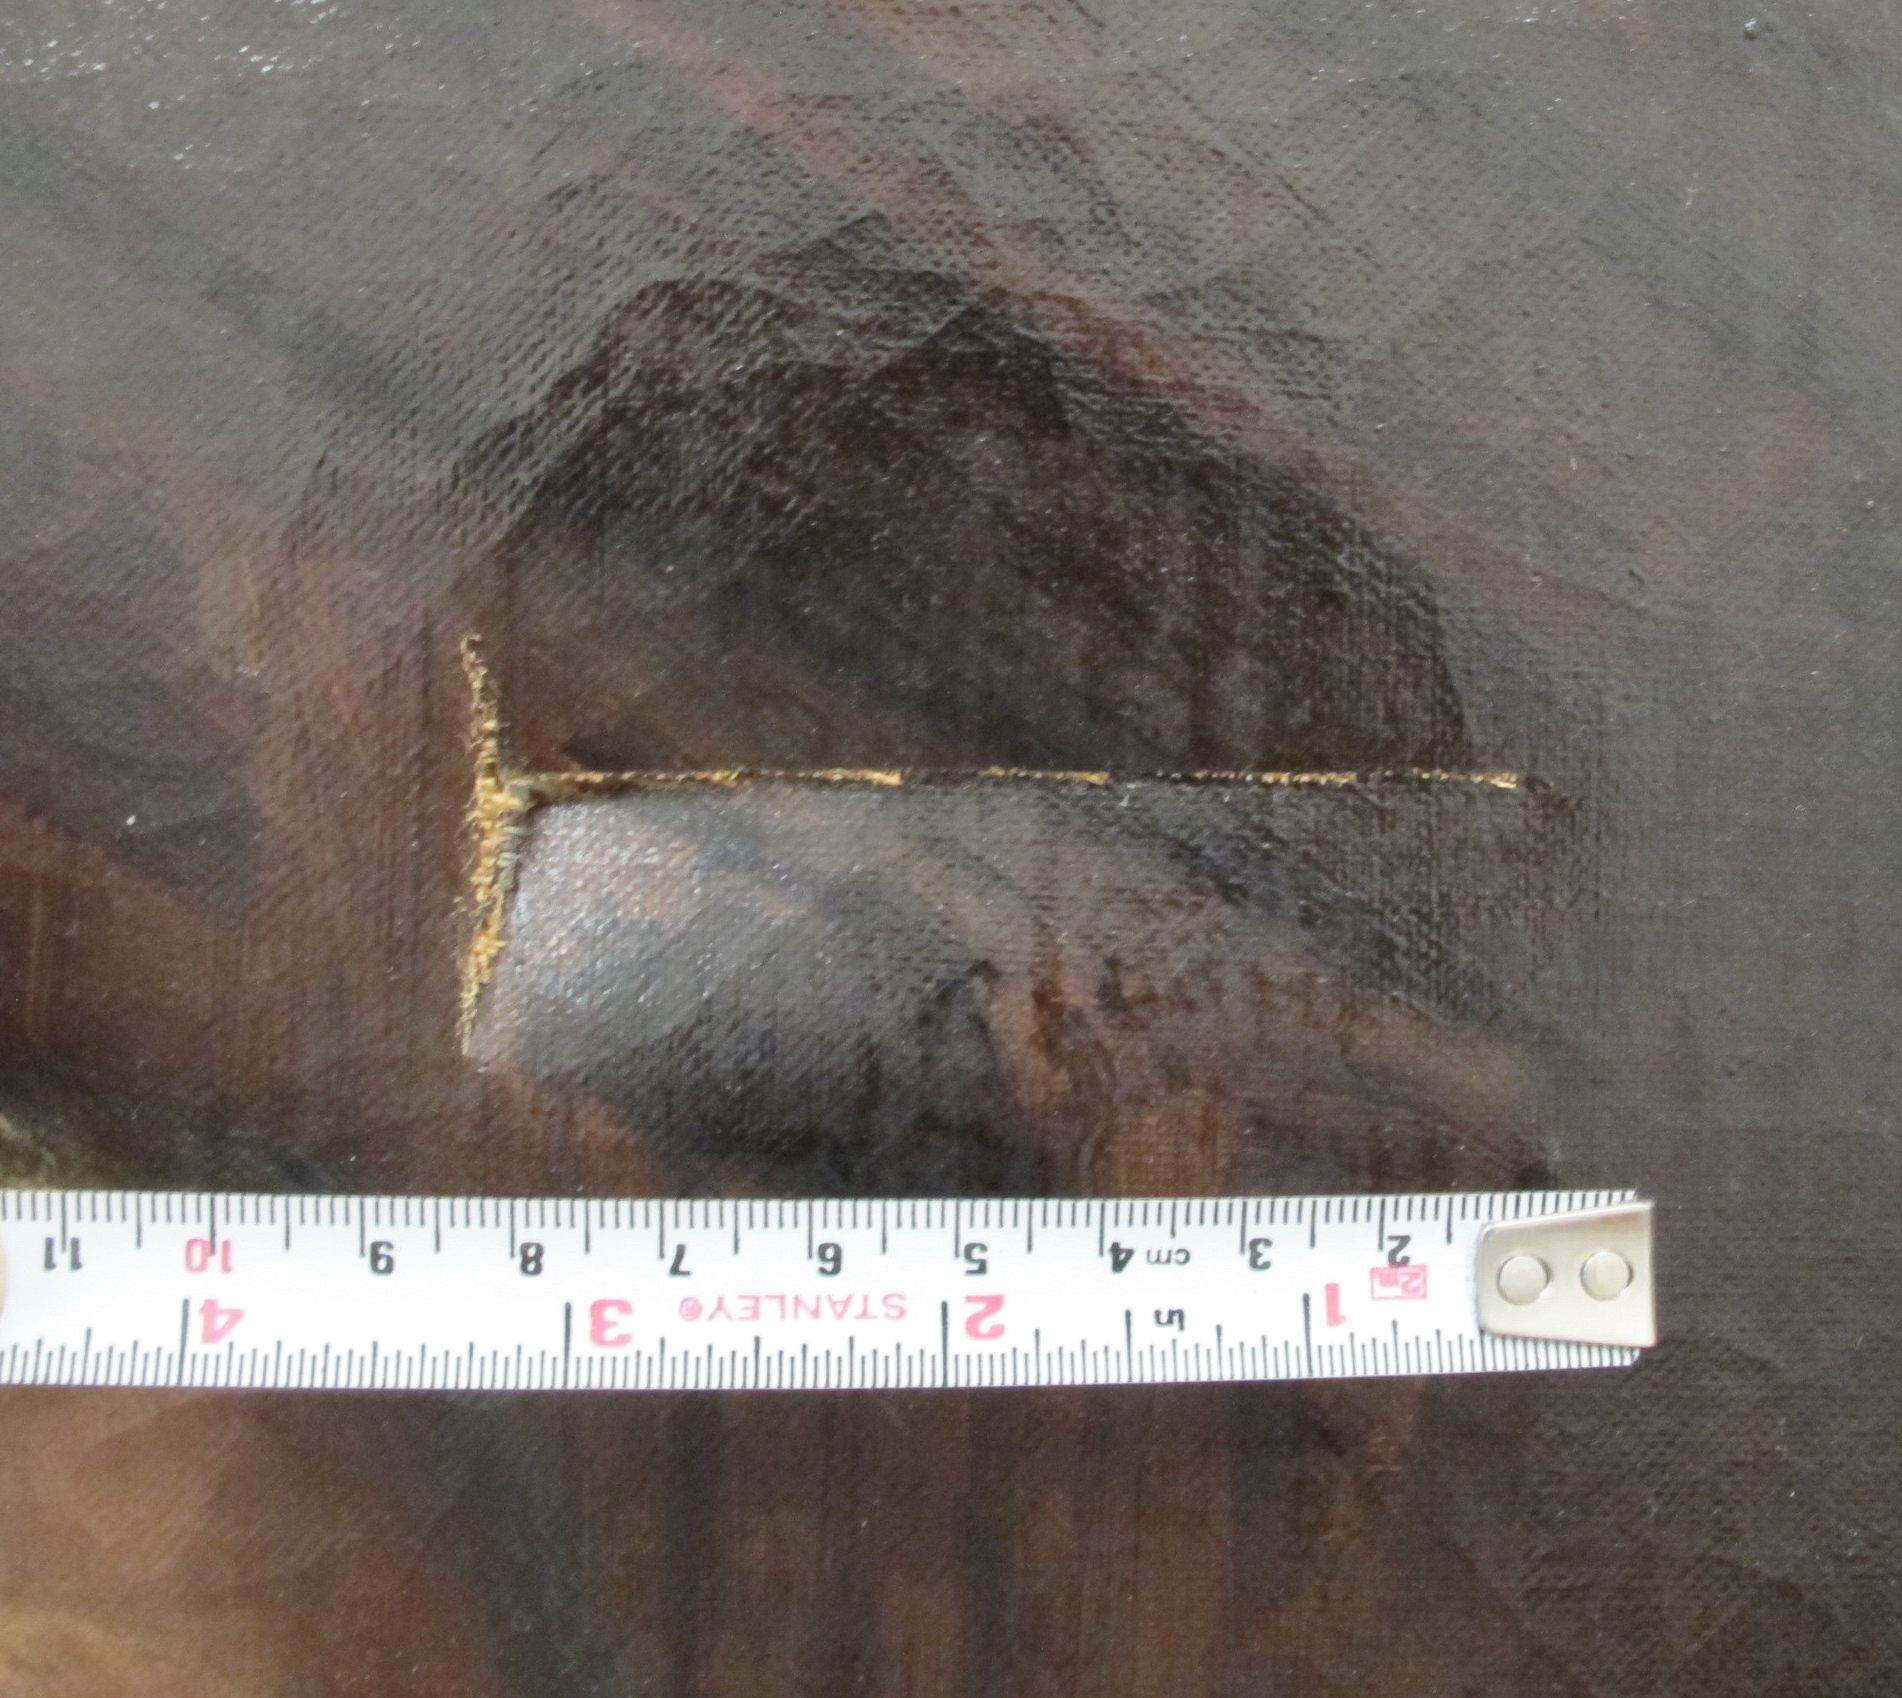
Detail of the compound tear, top center
Martin Leisser's Portrait of Benjamin Franklin sustained a compound tear during a fall. As is the case with the treatment of Ben, in order to properly treat recent damage, old repairs need to be removed or re-done. The old lining material was delaminating from the reverse of the canvas in the area of the tear and around the perimeter of the painting. The tear could not be properly mended unless the whole lining and lining adhesives were removed. It was decided to remove the old lining and deal with any previous structural issues concealed by the auxiliary canvas. During the time of the initial examination, it was unclear why the painting had been lined and how the older damages were caused. Ben exhibited a very large, and very over-painted old fill on his thigh. This area was very concerning because it was unclear if the original canvas existed behind the fill material.

In order to protect the areas of vulnerability, the surface was faced with Japanese tissue applied with a water soluble adhesive. As with all major structural treatments, it is important to make sure the surface of the painting is protected, especially if one expects to uncover areas of loss or instability of the support.

Tissue facing applied to surface in order to protect areas of suspected damage during lining removal.
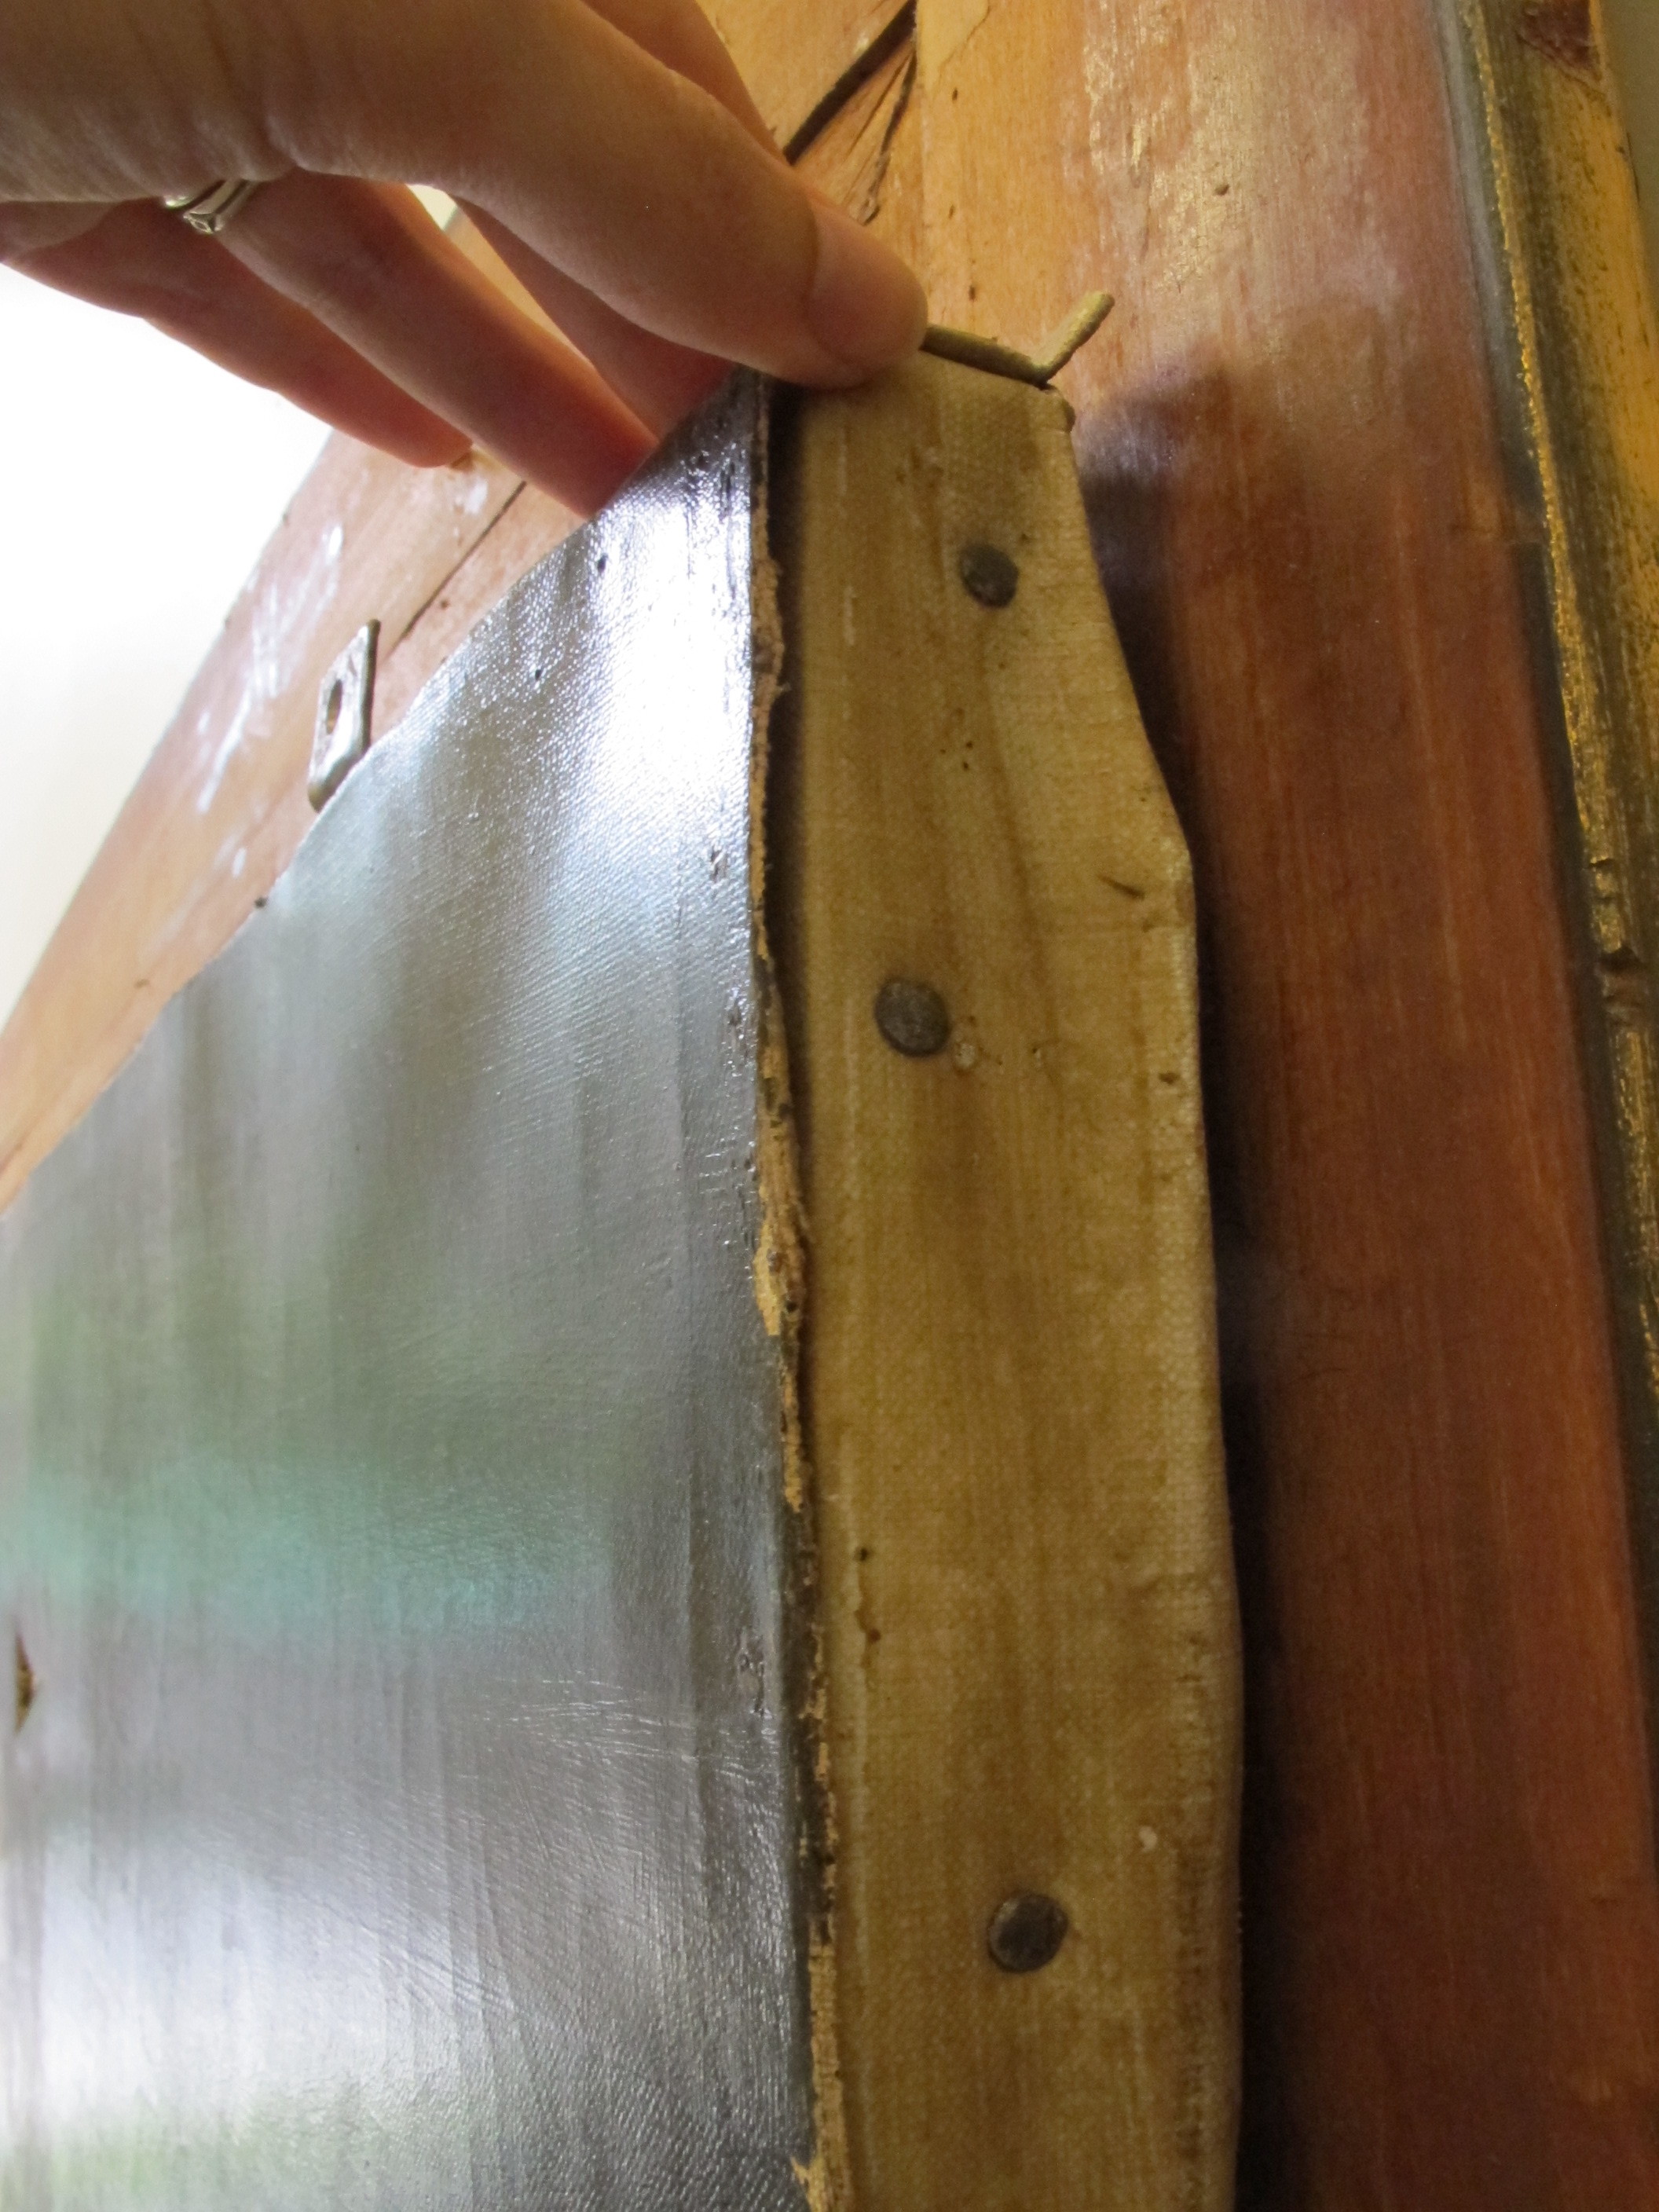
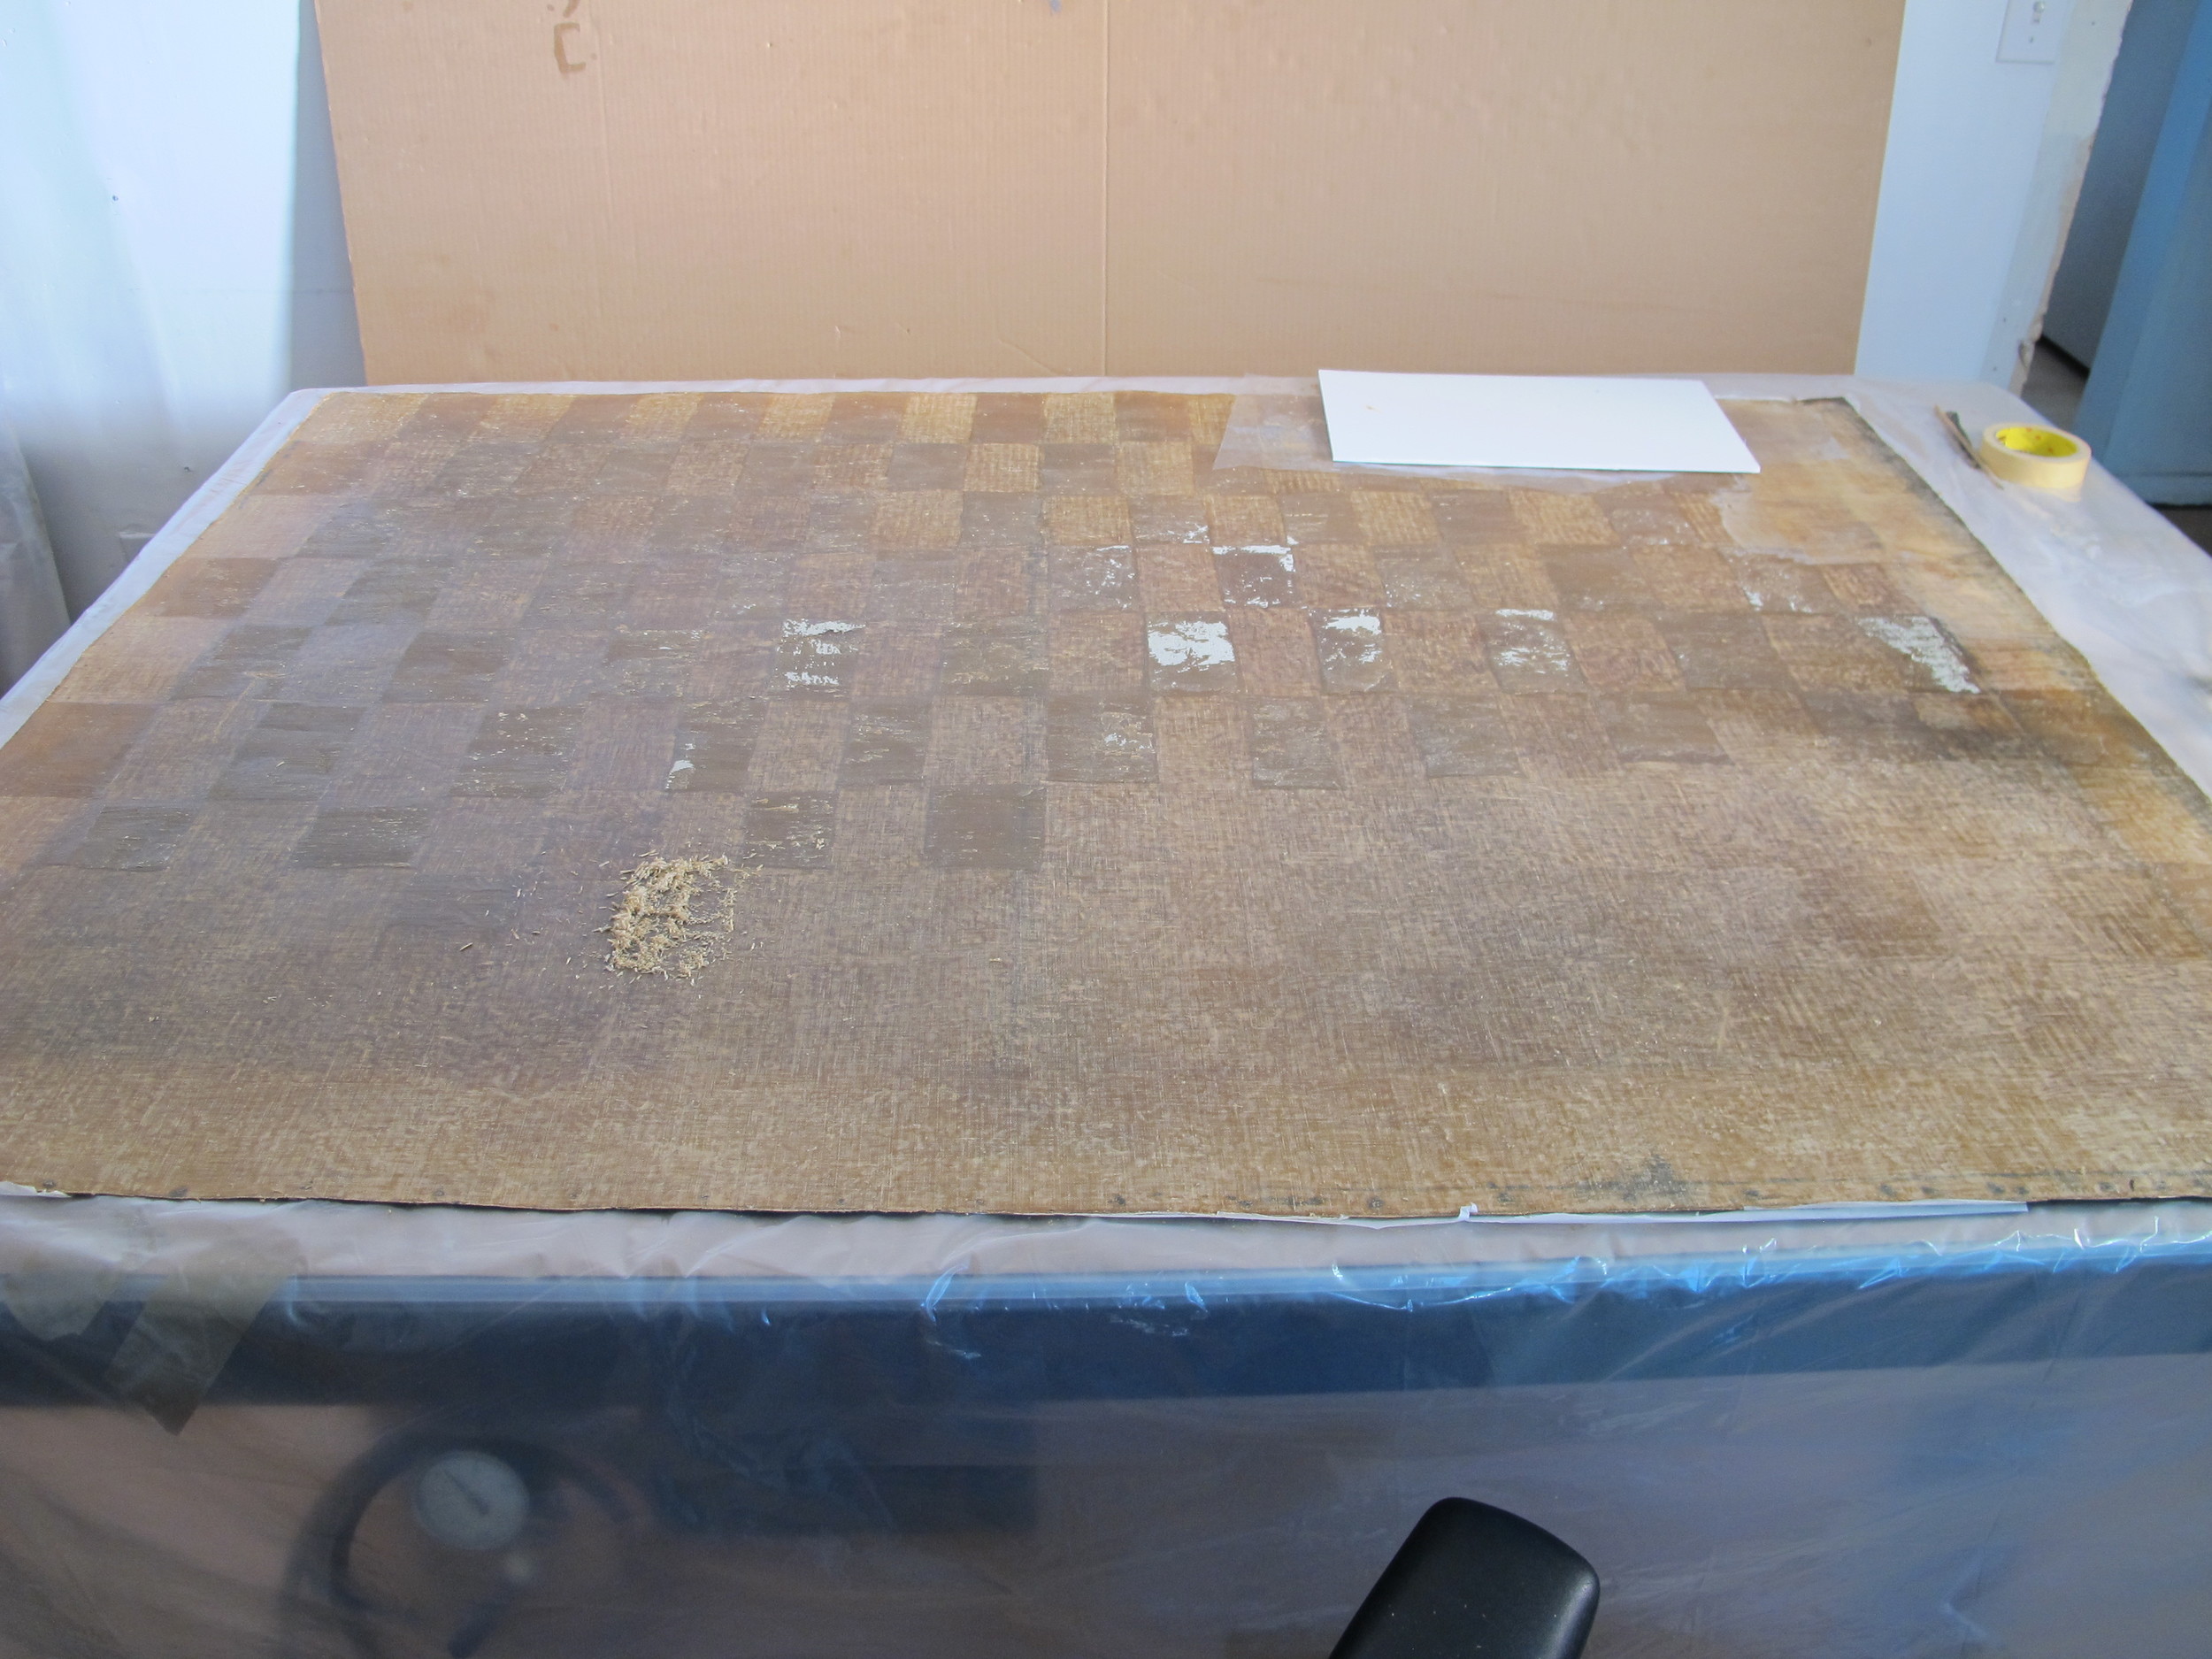
The painting was then placed face down and was unstretched from the original wooden stretcher. The lining removal proved less tedious than the removal of the layers of old wax resin adhesive that remained on the reverse of the original canvas. This was layer proved to be nearly 1/8" thick in areas of double application. The image on the left shows the lining being slowly separated from the reverse of the original canvas. The image on the right shows the reverse of the original canvas coated with a thick wax-resin layer.


The lining adhesive was likely a mixture of wax and natural resin. It appeared to have been applied to both the reverse of the canvas and lining canvas as there were two layers that had to be removed. As the waxy material was so thick, a dry approach was implemented to remove the bulk of the wax, with solvent being using only around the edges. The wax was removed in a checkerboard pattern in order to obtain an even level of removal and track progress.

There existed some natural and acquired undulations of the canvas due to the delamination from the lining. The corners were slightly wavy, as they had been free from the lining for an unknown period of time. The painting was slightly warmed and held under pressure using a heat/suction table. The painting is placed in a chamber and is essentially pulled under a vacuum and held planar, while the undulations are allowed to relax. Basically, the table allows for even heat and pressure to be applied to the entire surface of a painting. The image on the left illustrates the painting on the heat/suction table.

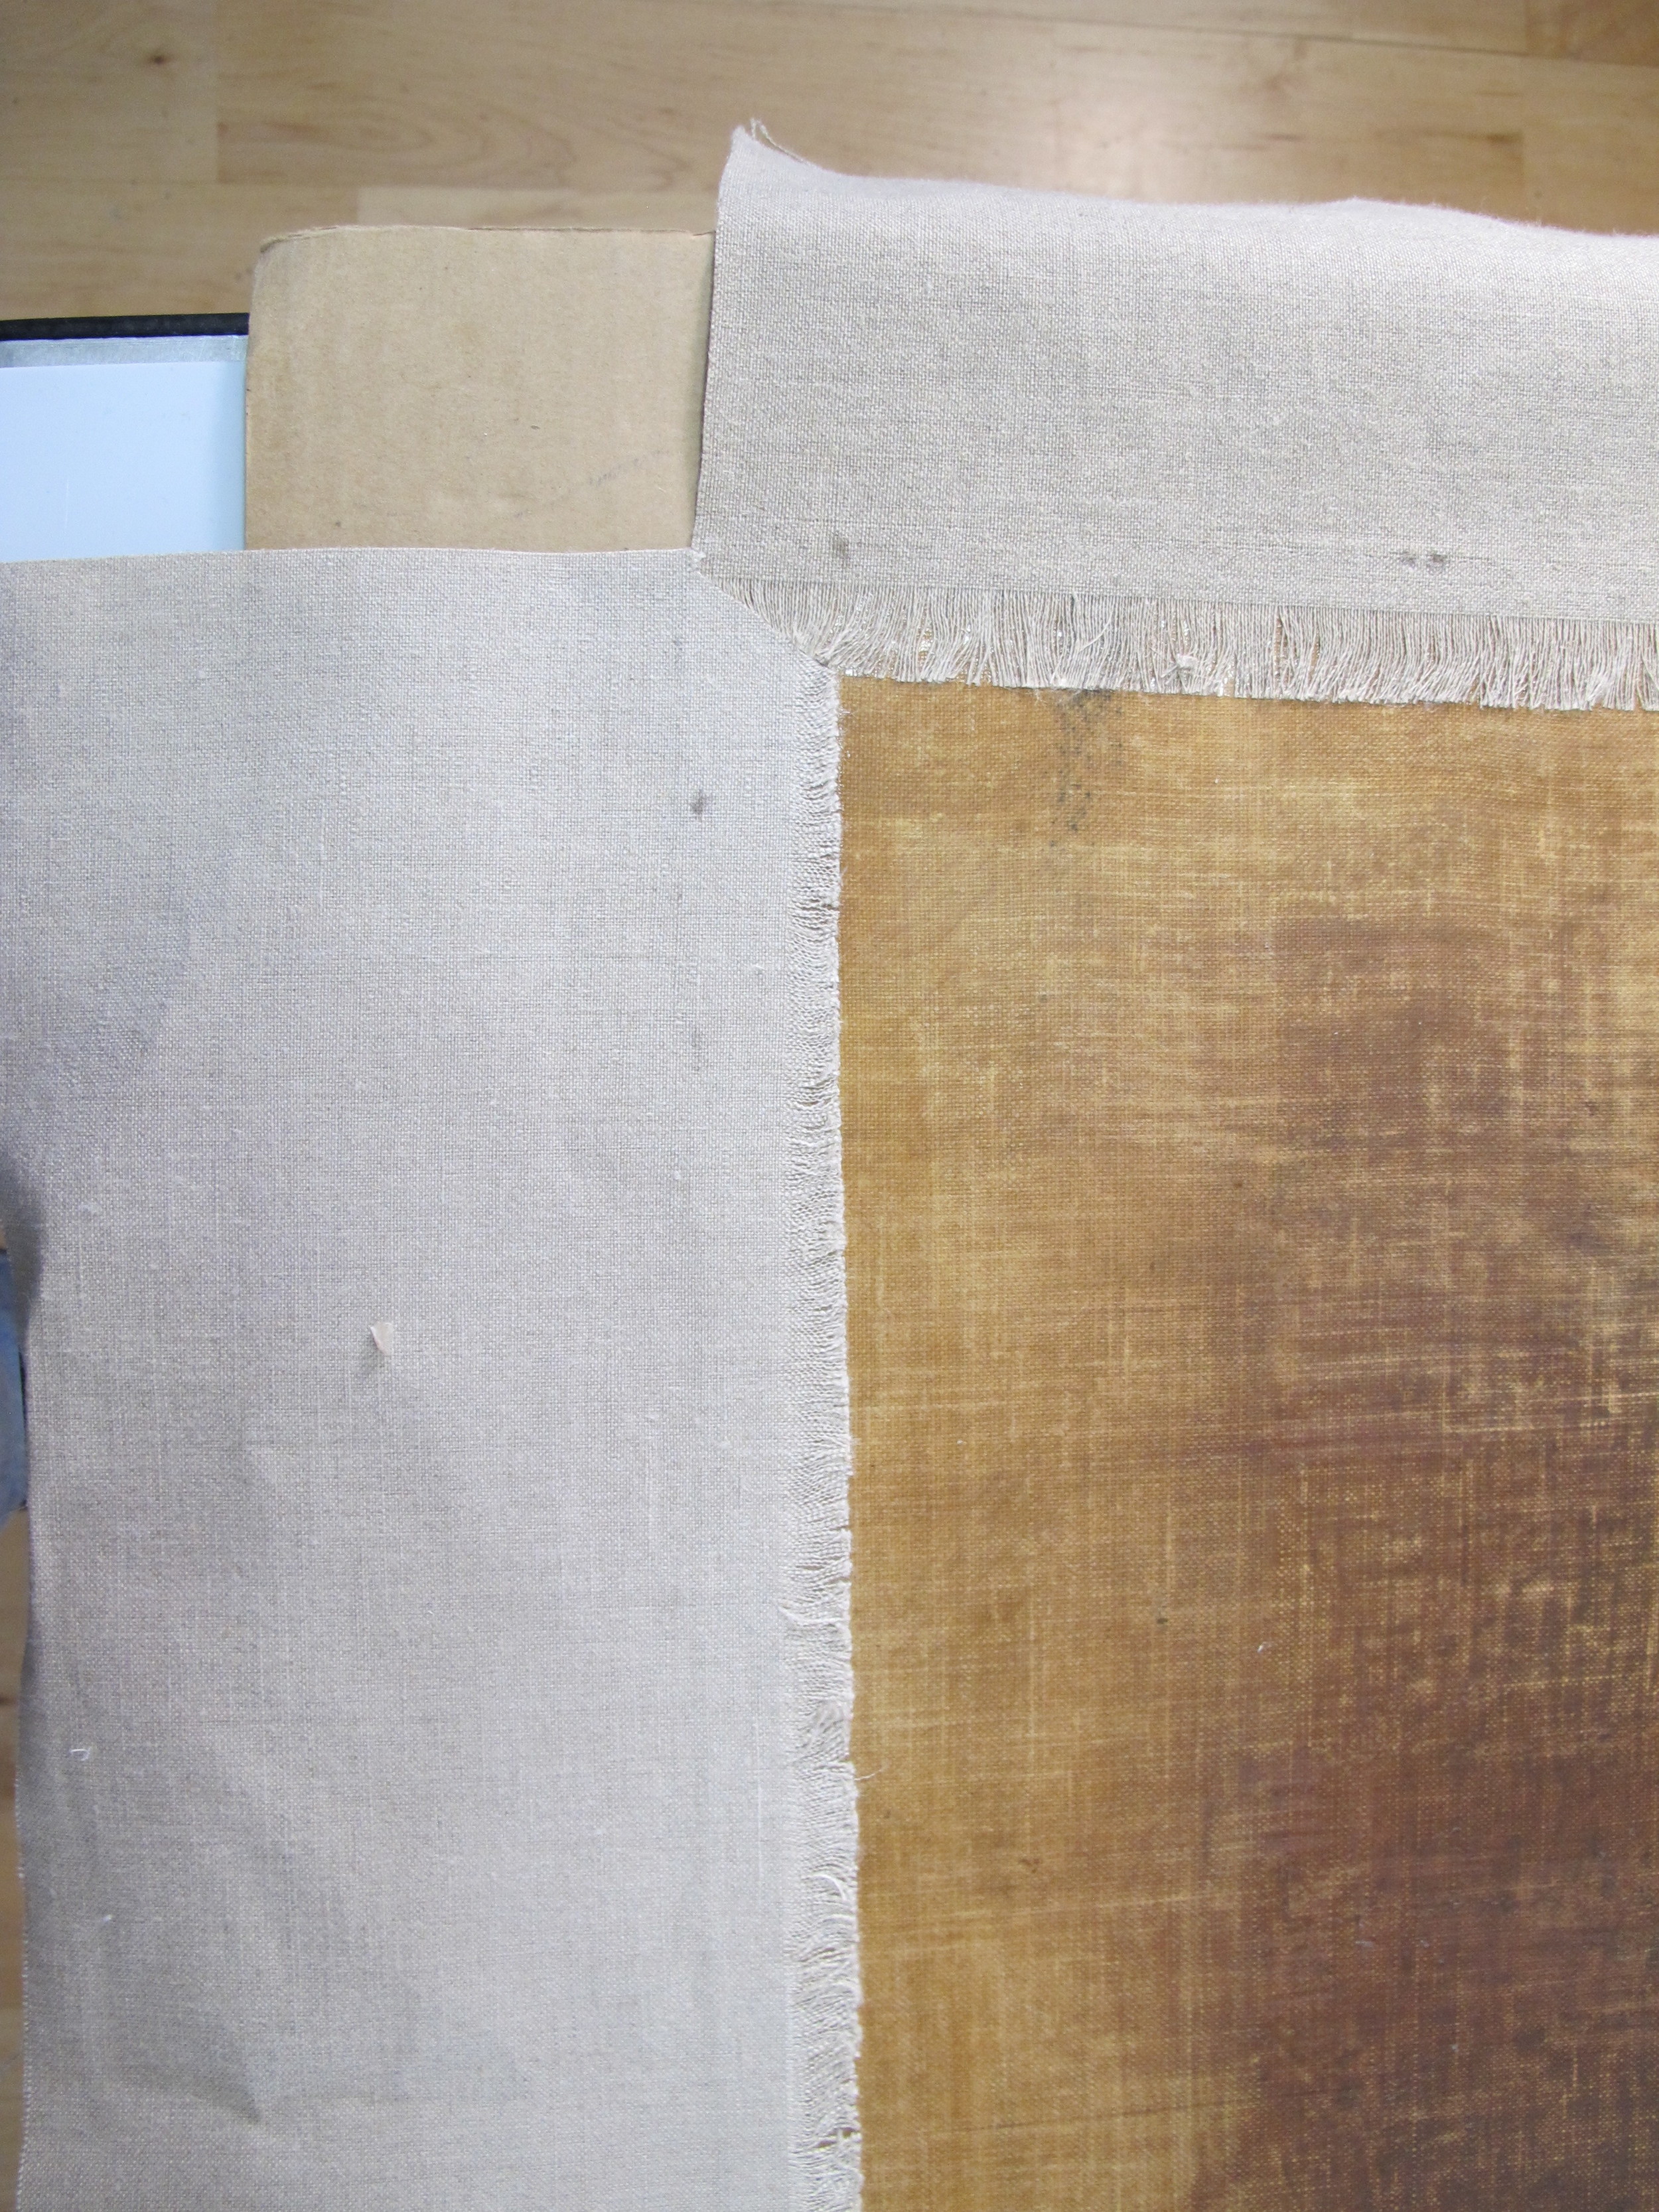
Luckily, no other major structural damages were uncovered during the removal of the lining material. It was decided to not re-line the painting, though extend the edges of the canvas with strips of canvas (otherwise known as an edge-lining). This extra length of canvas allows the portrait to be restretched onto the original wooden stretcher, as the original margins had been cut off during the previous restoration attempt.
A great overview of all of the different lining techniques and their pros and cons can be found here: http://www.tate.org.uk/download/file/fid/7412
The treatment of the large fill in the center of the portrait will be discussed in a later blog post. Stay tuned!